Susana Tomasio

Yoga and Martial Arts World


Leave a comment

Trikonasana A (Utthita Trikonasana)

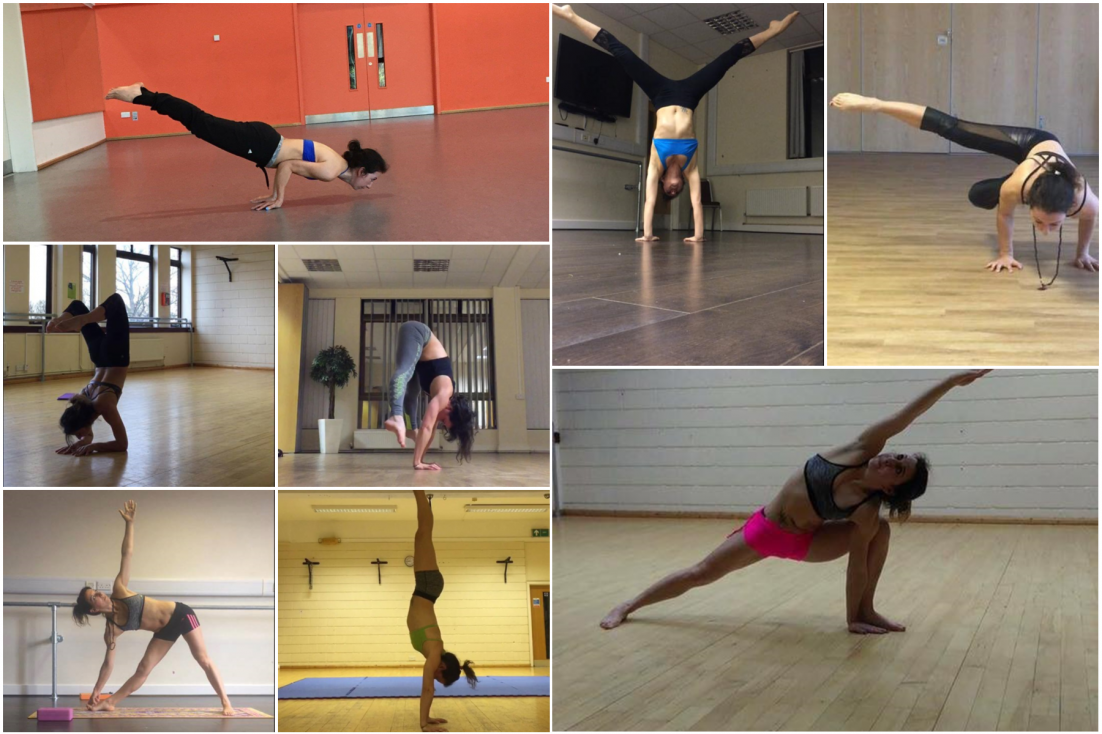
Trikonasana A, the Triangle Pose

Typically you get into this posture from the front of your mat and inhale as you step out to the right. The distance of your feet should be about three feet apart or a bit shorter (about one leg’s length). This means that if you are taller you are going to have a longer distance and if you are smaller you are going to have a shorter distance between your legs. Don’t try to emulate someone with a different shape that you are. If you are tall and try to copy a short person, you will end up with a stance that is too narrow.

Then allow the external rotation of the hip-joint, the belly draws in and find the access point into the empty space of the pelvis. Find the right hip-joint and external rotate it, then pick up the right heel and spin the ball of the right foot to external rotate the hip-joint. Draw the belly in as deeply as  you can and begin to pivot into the empty space of the pelvis, moving into an external rotation. Avoid pivoting from the ribcage and avoid arching the back, but keep the navel drawn in. Keeping your hips stacked as much as possible, avoid turning your hip too much forward and instead find that line between the hips.

Then dangle your right arm. If you feel that your arm is too far away from the ground you have two options: the easiest option (number 1) is to reach the hand down to the shin. If when you press down on your shin you feel a pain at the back of your knee, maybe you are pressing down too much, so reach down and grab a block and press your hand down on the block as your foundation (option 2). Depending on how far down you go to the ground you can put the block either up or sideways. However, don’t go down too far too soon and let yourself get comfortable pivoting into the hips. If you can reach the floor easily, hold the right big toe with two fingers (option 3).  Take the left arm up and spread the shoulder blades away from each other.  The full expression of the Trikonasana pose is when you hold the big toe and gaze to the left thumb. Press down on the base of the big toe, base of little toe and heel, and keep the belly drawing in. Take five breaths and then look down, inhale to come up and do the left side, spreading the arms, turning the right foot in and then pull in the left hip-joint as you spin the left foot. The alignment is between your left heel and the arch of your right foot. Exhale reach down to the big toe (option 3),  the block (option 2) or the shin (option 1). If you hold the big toe, avoid rolling your body forward or resting too much on your thumb; instead,  keep the wrist active and align yourself up so that you can press down through the base of the big toe; belly sucked in. Take five breaths and then inhale to come up,  spread the arms to the side and exhale back to the front of the mat (Samasthitihi).

In the video you will first see the full expression of the pose and then option 2 using the block. Remember to let yourself go in stages and never jump the game. If you need to use the block, fine but treat the block like a training wheel, just like you use to learn how to ride a bike, not like something you would use forever. Those of you that come to my classes know that I tend not to encourage the students to use the block for too long, and  that is because progress happens faster without using props, but using modifications with the own the body (in this case grabbing the shin). Also, some people tend to get addicted to the block, and can get stagnated in a modification for a long time. So, although students are advised not to rush too soon, they are encouraged to work with modifications using their own body.


Leave a comment

Padangusthasana and Padahastasana

Padangusthasana and Padahastasana – Deep Forward Fold
First standing poses of the Ashtanga Yoga Primary Series
How to come into the postures:
Padangusthasana:
Move the feet hip width appart and enter this pose in the same way you enter the second position of Surya Namascar A, by pivoting from the hips, sucking the belly and finding the inner space of the pelvic floor. Lift the knee caps up and find the basis of the big toes, the little toes and the heels. Pressing down to the ground and with the arches of the feet lifting. Then, hollowing out the pelvis, slowly bringing the hips back and pivot down as you exhale. Wrap your fingers around your big toes. If you cannot grab your toes, you can bend the knees and then straighten the legs. Pause for a moment and suck the belly in, then inhale and straighten the arms and then as you exhale fold forward sucking the belly in. Dangling the arms to the sides and bringing the crown of the head to the matt. Gaze at the tip of the nose. Only if you are proficient at the forward bend, slowly pull the rib cage in and fold in a little bit more.
Padahastasana
These two postures are linked together. Inhale straighten the arms and place the hands under the feet, and then again inhale, lengthen, belly sucks in, and exhale fold. You can also bend the knees if you need.
Don't pull on the hands and don't pull on the feet, instead focus on strengthening the legs, bringing the belly in and relaxing the back. The key in the forward bend is relaxing the back. Once the back is relaxed you can engage the ribs and pull the ribs in to fold forward.
Then if you want to take the posture to another level, bring the sacrum forward. It will feel that you are falling, so suck the belly as deep as you can to balance.
Then inhale look up, exhale release the hands and inhale come all the way back up and bring the feet together into Samasthihi.
These are the foundational forward bends of the practice. If you need to bend your knees a litle to reach the feet, no problem, just put your effort into straightening the legs as much as possible.


Leave a comment

Surya Namascar B

Sun Salutation B
Surya Namascar A is the easier sun salutation in Ashtanga Yoga. Surya Namascar B is harder as we integrate two extra movements:
Utkatasana, the chair pose and Virabhadrasana, the warrior pose.
Start nice and slow and then as you become more familiar with the movements bring it up to its full pace.
Tune into the inner body and feel the heat and fire 🔥 created in your body. If you’re sweating, great! Feel the sweat, don’t resist it and breath deeply!
Traditionally, the Ashtanga practice includes five Surya Namascar A and three Surya Namascar B.
As you begin to move into a consistent practice of sun salutations you will become familiar and will start to memorise these movements: nine movements in Surya Namascar A and seventeen in Surya Namascar B. Once you do, you will find a sense of peace and tranquility and the practice will begin to be yours! 


Leave a comment

Surya Namascar A

Sun Salutation A

As we move through the sun salutation the body heats up, the mind sharpens and the inner fire  of purification starts to cultivate in the inner body. As you begin to practice the sun salutation you will notice that it is like an old friend, in which you will get to know these motions really well, but at the same time there is always room to dive deeper and explore new options, new perspectives and new awareness. The sun salutations are the foundation of a complete practice. You can just do the sun salutations if you don’t have time or feeling sick or with low energy. As little as 5 minutes a day will build the foundation and the elements of a complete practice.